

Discover what it takes to install your solar system.
It looks deceivingly simple: a rooftop solar installation. For a few short days, you may watch workmen on your neighbor’s roof, hammering the mounting hardware into place, fastening the panels, and wiring the system together.
What you don’t see is all the work that takes place before and after installing solar panels. From the tree shading analysis to the final inspection, the entire process takes months — but the reward of energy independence lasts for decades.
Whether you’re evaluating your options or you’ve committed to going solar and are curious about the steps involved, our solar panel installation guide explains what happens from the day you receive a quote to the day you flip the switch.
Step 1: Quote & Initial Design

When you request a quote, a Sunnova rep will reach out to discuss your energy needs and review your electric bill and usage history. Using proprietary software, including our own quoting and design tool, Sunnova Catalyst®, we’ll create a proposal and initial design without having to visit your home.
During the design process, you'll also discuss how much electricity you want to offset with solar power. This conversation will determine how big of a system you choose (measured in kilowatts or kW), which impacts your solar energy production (measured in kilowatt-hours or kWh). The amount of energy consumption you choose to offset with solar will ultimately depend on:
- How much roof space you have
- How many sun hours your home receives
- How appealing your state’s net metering program is
In California, for instance, NEM 3.0 reduces the value of bill credits that customers receive by sending solar to the grid, making it less beneficial to oversize your system. In this case, you’ll want to use as much of your solar generation as possible (called self-consumption), unless you plan on adding a battery.
At this stage, you’ll also need to decide how you want to pay for your solar system. If you opt for a cash or loan, you’ll own the system outright and may qualify for rebates and incentives. If you want to avoid the upfront costs of going solar or don’t have a large enough tax liability to potentially utilize the 30% federal tax credit, then a lease or power purchase agreement (PPA) might be best.
Learn more about how to choose between a lease, loan or PPA
After we’ve gathered your information, we’ll create a personalized solar quote with the following estimates:
- Different types and brands of equipment (panels, racking, inverter, battery, etc.)
- How much of your electricity you can expect to offset with solar power
- System size and production (year one and lifetime)
- Details and terms of your preferred financing option
- Monthly energy payment compared to your current utility bill
Step 2: Approved Agreement

Once you receive your quote, you’ll need to sign it and get your financing approved before we come to your home for the site survey. A Sunnova rep will walk you through the proposal and you’ll sign the electronic agreement, which states that if nothing changes, we’ll move ahead with the solar panel installation based on the information presented.
Our team will also perform an online verification or call you to confirm it’s you who signed the agreement. The work order won’t be sent to a dealer or installer until the contract is signed and the sale is official.
Keep in mind that the initial design is an estimate to create production and pricing details. We’ll need to schedule a site visit to examine your roof and map any obstructions before presenting you with a final design.
Any modifications that alter your anticipated solar production by 2.5% or more will trigger a change order that you’ll need to re-evaluate. For instance, if your home isn’t structurally capable of handling a solar and battery system, you may decide to wait and see what home improvements make sense before moving forward with solar. If you still want backup power, you can explore alternatives, such as a home standby generator in lieu of a battery.
Step 3: Site Survey & Final Design

During the site survey, Sunnova Installations or your selected dealer will visit your home. They’ll assess your roof if that’s where your panels are going or scour your property to find the ideal sun-exposed location for a ground-mounted solar installation. The team will perform a tree shade analysis, evaluate your electrical system and determine your system layout.
You’ll receive a computer-aided design (CAD) drawing that maps out your complete system design, including:
- Construction details such as your roof pitch, rafter specs, location of vents and skylights
- Site plan that shows the placement of your solar panels, racking and mounting hardware
- Details of how your system components will be wired together and connected to the grid
- Performance and mechanical specifications of your selected equipment
- Code compliance notes and installation guides
If the install team finds that you need changes to the design — maybe you need additional mounting planes or an upgrade to your main panel — you’ll receive a true-up form. This document dictates what will be included in the change order. From there, you’ll need to approve and sign off on the adjustments before your solar panel installation can proceed.
Step 4: Permitting & Installation
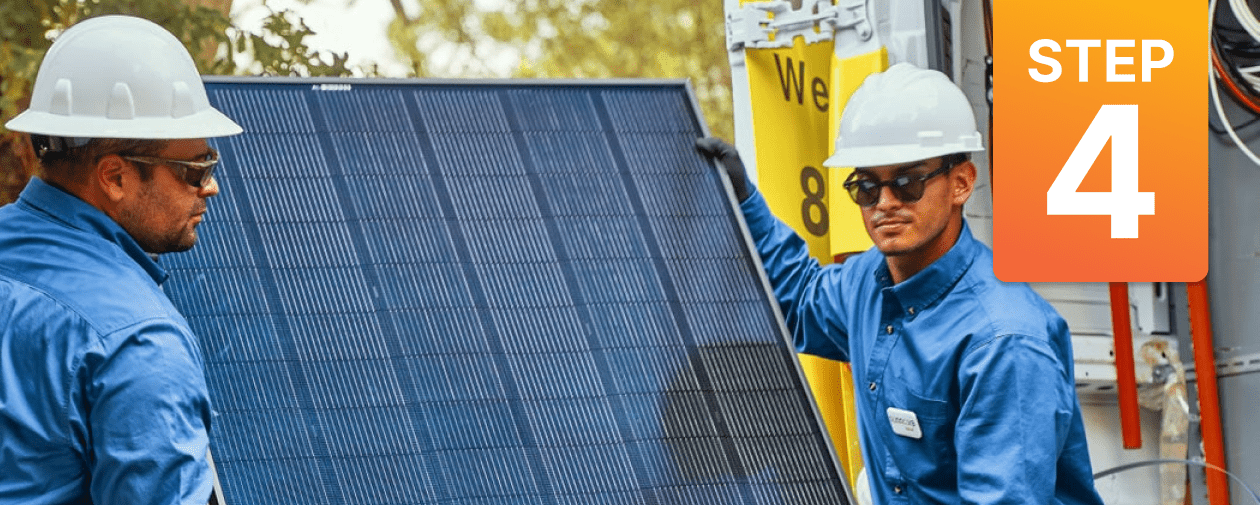
Once the final design is approved, your solar project will advance to the permitting process, as each system must meet fire, electrical and structural safety codes. Either Sunnova or your dealer will submit the planning documents to your local permitting department (also called ‘Authority Having Jurisdiction’ or AHJ), detailing what equipment will be used, where your panels will be installed, etc. Permitting timelines can vary considerably depending on your jurisdiction — it could be a few days, it could be a month or more.
Because your home will still be connected to the electric grid, you’ll need permission from your utility to move forward with your solar installation. This application allows your utility to confirm that the appropriate safety measures are in place. For instance, if you have a solar-only system, it must be designed to turn off automatically during an outage so there’s no risk of solar energizing the lines and harming utility workers trying to fix them.
The interconnection application typically includes the following documents:
- Your energy usage and expected solar production
- Final engineering design of your system
- Proof of homeowner’s insurance
- Your signature as the utility account holder on all relevant paperwork
It’s your responsibility to address any requirements from your homeowners’ association (HOA). Our team will provide you with the permits and other paperwork to present to your HOA, but generally speaking, we don’t work directly with these neighborhood organizations.
Once permitting is approved, our team will procure the equipment, coordinate the delivery of materials and begin the install. Your solar panel installation usually takes a few days; be prepared for your power to be shut off here and there during the process.
After the solar install is finished, your system will need to pass a final in-person inspection from your AHJ to ensure compliance with zoning laws, building codes and safety regulations. The install team will also take photos and submit them to Sunnova (called the commissioning package) to ensure the system was installed correctly and meets our high standard of quality.
Step 5: Utility Connection
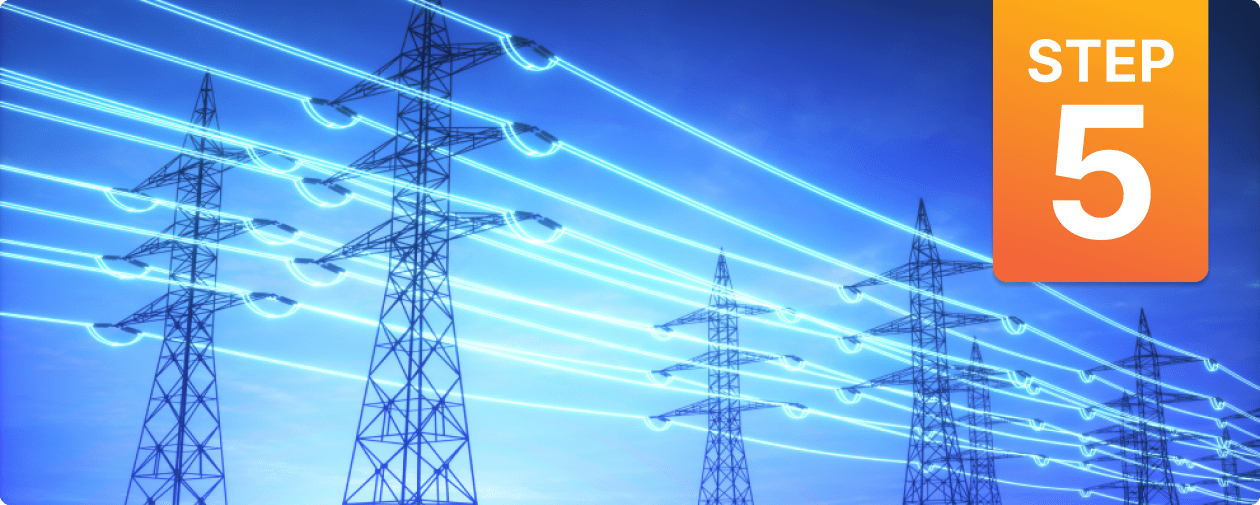
Upon passing the AHJ inspection, it’s time for the final step of the interconnection process, called permission to operate (PTO). This separate application sent to your utility company proves your system passed inspection. Most of the time, your utility can review photos of your system to check for any issues, but in some cases, a utility representative may need to visit your home.
If your account has any issues (outstanding balances, for example), your PTO application may be rejected, so be sure you’re in good standing with your utility first. If there are any discrepancies between the information provided in your application and your actual solar system, these also need to be resolved before your utility will approve your PTO. You may also be required to upgrade your meter if you plan on sending solar power to the grid in exchange for credits on your electric bill — a process called net metering or net billing.
If no issues are discovered, you’ll receive a PTO letter, which marks the official completion of your residential solar installation. Waiting can be grueling (and this process can take weeks) but be sure not to turn your system on before you’ve been granted PTO, as this can result in fines from your utility.
Step 6: Flip the Switch
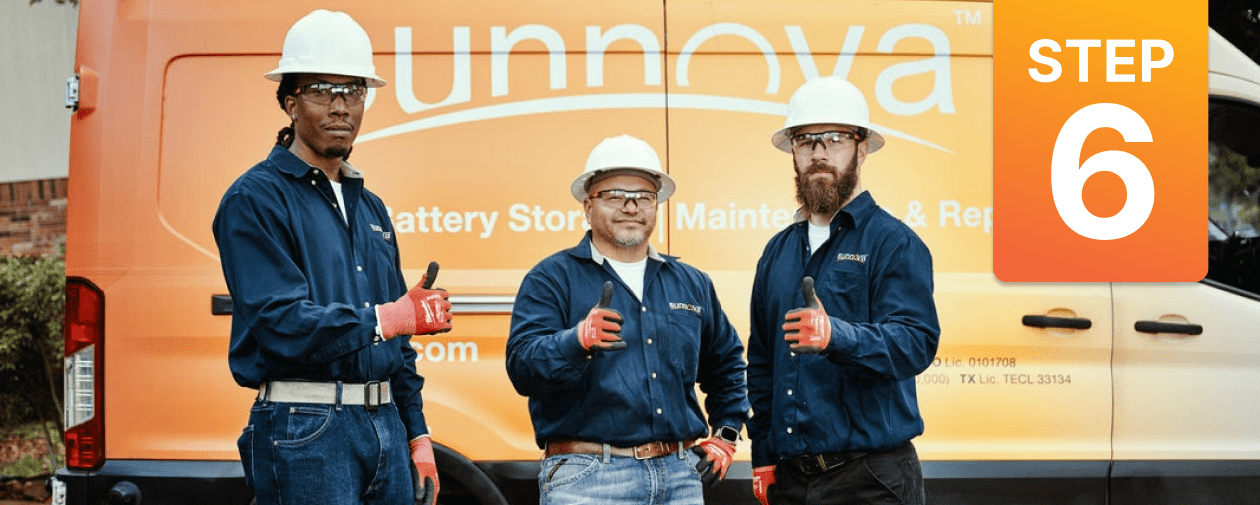
Once you’ve received the green light from your utility, it’s time for the most exciting part: activation! You’ll actually ‘flip the switch’ by turning on the solar breaker switch in your electrical panel.
Keep in mind that a solar-only system doesn’t have storage capabilities. It only produces solar energy while the sun is out, so you’ll need to immediately use that power or send it to the grid via net metering or another program. If you want to save your solar production for later — at night, during an outage or when electricity rates are high — you’ll need to add a battery.
Your solar panel installation is an investment in your future. Remember that it can take anywhere from two to nine months from start to finish, sometimes longer if your utility or local permitting department is backed up. But the best things in life are worth waiting for, and locking in your energy costs for two-plus decades while reducing your carbon impact is undoubtedly one of them.
Ready to make the sunshine work for you?

